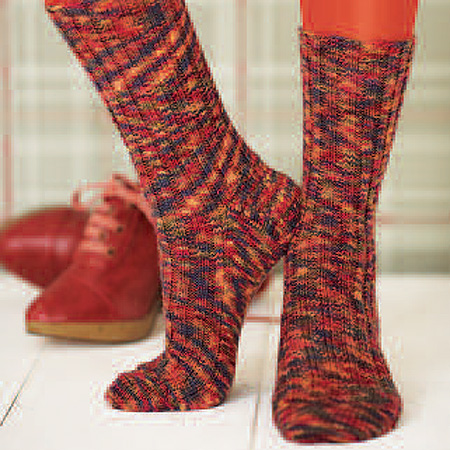
Basic Socks/Feet First Workshop
photo page 16, instructions on page 76
Updated: 20Dec2011
Corrections are underlined.
1. Dpns shown in “What You’ll Need” are size 1 (2.25mm).
2. Turn heel
Work Rows 1-4 as directed. Cont to work as foll:
Next row (RS) Sl 1, k to last 2 sts, SKP.
Next row (WS) Sl 1, p to last 2 sts, p2tog.
Next row (RS) Knit across 16 (18, 20) heel sts.
Cont with Gusset as directed.
Cover Hat
photo on cover, instructions on page 52
Updated: 22Jan2010
Double Seed Stitch
Rnds 1 and 2 *K1, p1; rep from * to last st, k1.
Rnds 3 and 4 *P1, k1; rep from * to last st, p1.

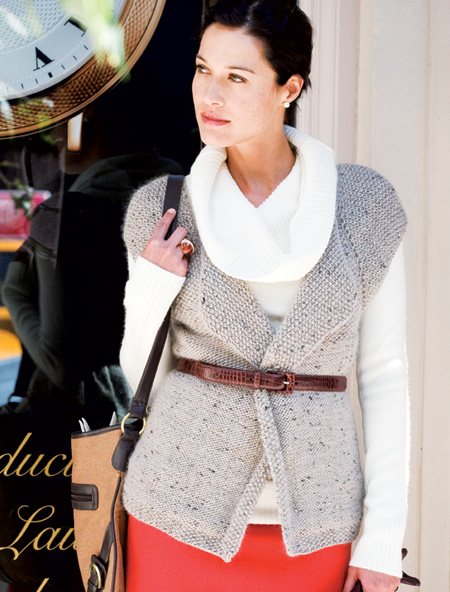
Pattern #1 Rustic Blazer
photo on page 20, instructions on page 52
Updated: 22Feb2010
Correction is underlined.
1. BACK
Shape raglan armholes
Dec row 1 (RS) P1, k to the last 6 sts, SK2P, k2, p1.
2. Collar was omitted from pattern.
Collar
With smaller needles, cast on 21(21, 25, 27) sts.
Row 1 (RS) K1, *p1, k1; rep from * to end.
Cont in k1, p1 rib, cast on 6 sts at beg of next 6 (8, 8, 8) rows, then cast on 4 sts at beg of next 2 (0, 0, 0) rows – 65 (69, 73, 75) sts. Cont in k1, p1 rib for 12 rows more. Change to larger needles and work even in rib for 10 rows. Bind off. With RS of collar and sweater tog, place cast-on edge of collar along neck edge, centering collar at back neck. Sew in place.
Pattern #9 Cabled Wristers
photo on page 27, instructions on page 59
Updated: 02Feb2010
Correction is underlined.
The instructions for cast-on gave an incorrect needle size, use the needle size given under Materials.
Left Wrister
With size 7 (4.5mm) needles, cast on 35 sts.

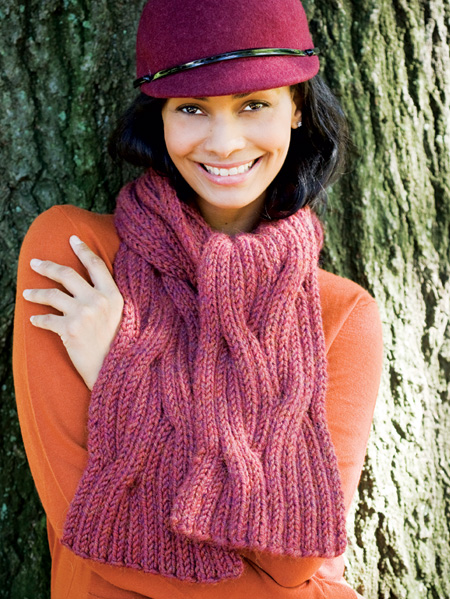
Pattern #10 Cable Scarf
photo on page 27, instructions on page 59
Updated: 17Jan2010
A Corrected chart has been posted. Click here to download. [PDF 26KB]
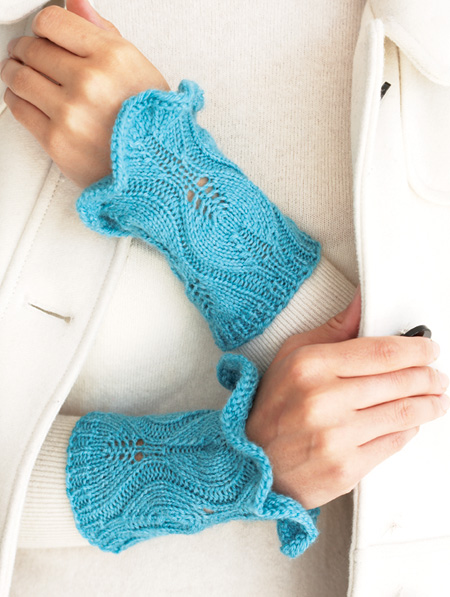
Pattern #15 Lace Wristers
photo on page 29, instructions on page 62
Updated: 03Feb2010
A Corrected chart has been posted. Click here to download. [PDF 23KB]
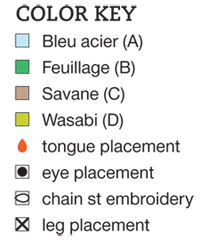
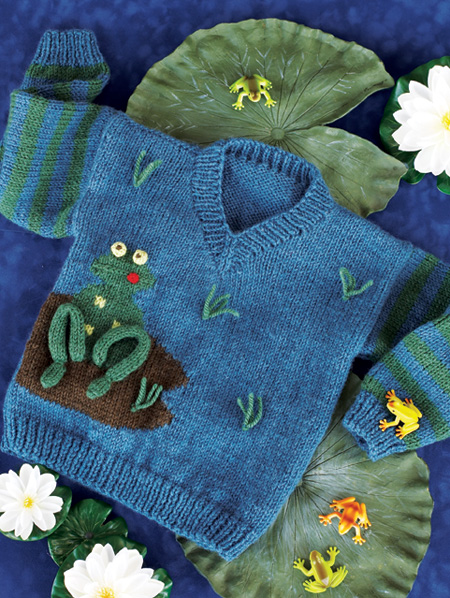
Pattern #23 Frog Sweater
photo on page 38, instructions on page 66
Updated: 03Mar2010
Color Key is incorrect, Savane should be (C), Wasabi should be (D).
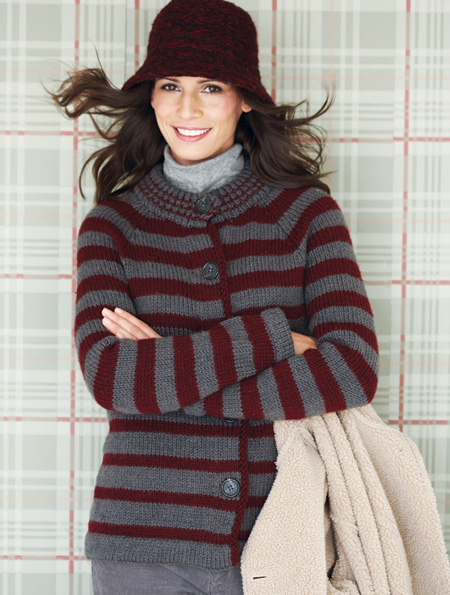
Pattern #25 Striped Cardigan
photo on pages 40-41, instructions on page 68
Updated: 15Dec2013
Corrections are underlined.
1. BODY
Shape armhole
Next row (RS) K to 5 sts ….work to end. On next 2 rows, working each front and back separately, bind off 3 sts from each armhole edge once more. Six rows of A have been worked. There are ….Lay work aside.
2. SLEEVES
Shape cap
Bind off 4 sts at beg of next 2 rows, 3 sts at beg of next 2 rows – 38(42, 46, 50) sts. Six rows of A have been worked. Change to B and cont over all pieces in stripe pat 2.
3. Neckband
When working around neck edge, pick up 22 sts for back neck.
4. Double Buttonhole
Row 1 (RS) K2, bind off 2 sts, work 5 sts, bind off 2 sts, work to end.
Neckband
When working around neck edge, pick up 22 sts for back neck.
Pattern #26 Kid’s Striped Pullover
photo on page 41, instructions begin on page 69
Updated: 16Feb2011
Correction is underlined.
SLEEVE
Shape cap
Bind off 4 sts…..Dec 1 st each side on next row, then every 2nd row 12 (9, 8, 11, 11) times more, then every 4th row 0 (2,3,2,3) times- 8 sts. Bind off.

Pattern #30 Ribbed Tunic
photo on page 45, instructions on page 72
Updated: 11Aug2010
1. There are 3 sizes for this pattern, Small, Medium/Large, X-Large.
Due to a typo, the backslash (/) between Medium and Large was omitted from the instructions.
2. Front
Shape V-neck and raglan armhole
Next row (RS) Work as written.
Next row (WS) Work as written.
Next row (RS) Bind off 3 sts, k to the last 3 sts of first side, k2tog, p1; on 2nd side, p1, SKP, k to end.
Continue to work as written.

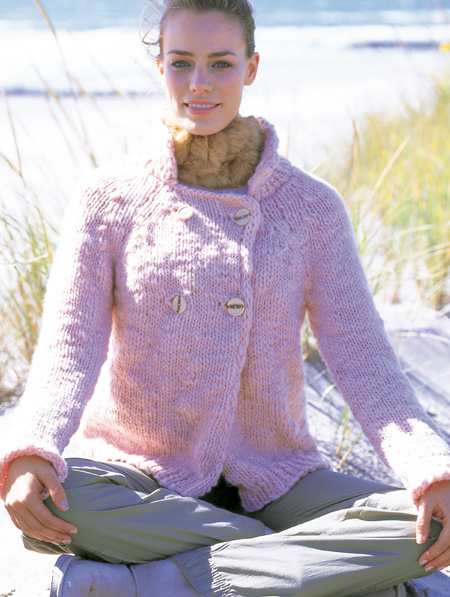
Pattern #32 Seed Stitch Cardi
photo on page 47, instructions on page 75
Updated: 26Jun2013
1. NOTE: This garment is reversible, and shows the Reverse St st side in the photo on page 47. The photo on page 75 shows the St st side. The instructions refer to the St st as RS, the Rev St st as WS.
2. Buttons were not used for this garment. Please delete the buttons from MATERIALS and FINISHING.
Work the set-up row without a buttonhole as follows:
Yoke
Next (set-up) row (RS) Follow instructions as written and work row to last pm, work to end of row in seed st (right front). Do not work the 5 additional button holes.
3. Divide for body and cap sleeves (corrections are underlined)
Next row (RS) Working in and binding off in seed st, and dropping old markers, work as foll: work 5 sts (front band), pm, work next 36 (39, 42, 45, 48, 51) sts (left front), bind off next 51 (57, 63, 69, 75, 81) sts (left cap sleeve), cast on 8 (8, 10, 10, 12, 12) sts (left underarm), work next 73 (79, 85, 91, 97, 103) sts (back), bind off next 51 (57, 63, 69, 75, 81) sts (right cap sleeve), cast on 8 (8, 10, 10, 12, 12) sts (right underarm), work next 36 (39, 42, 45, 48, 51) sts (left front), pm, work 5 sts (front band) – 169 (181, 197, 209, 225, 237) sts.
